Writing Vue with TypeScript
This post is a continuation from the previous blog.
In the previous post, we built a Vue.js web application with nothing but JavaScript, HTML, and CSS. The very basic building blocks of the front-end application. Now, we are going to use TypeScript. TypeScript is the latest way to code front-end applications. It is built on top of JavaScript and adds static type definition.
TypeScript is designed for the development of large applications. Static typing adds constraints to the code base that forces developers to write code in a more structured and readable way. It also helps IDE make a better suggestions. Although I would like to mention that static typing is optional. So developers can still choose to write loose code in places where it makes sense.
Although I said TS is meant for large application, you will find it in use by many small applications too because it is supported by all major front-end frameworks. I am talking about Angular, React, and of course, Vue.js too. TypeScript has vast backward compatibility support. You can use newer feature s from ES6, ES7, and beyond, and the compiler will convert them to ES5 or whatever you specify. This together with great tooling makes TypeScript one of the most beloved programming language out there.
Node.js and NPM
What is Node.js?
Node.js is an open source server environment. It is written in JavaScript and built on Chrome V8 JavaScript engine. It is free to use.
What is NPM?
NPM is a package manager for Node.js packages, or modules if you like. Modules are JavaScript libraries you can include in your project. NPM is installed on your computer when you install Node.js.
Vue CLI
Vue CLI is a JavaScript package that runs in Node.js.
Requirement
- Node.js version 8.9 or above (v10+ recommended)
- Visual Studio Code
- This guide will be in Windows 10 environment, Linux/Unix may need some other additional configuration.
Let’s install Vue CLI.
npm install -g @vue/cliNow, we can create a new Vue project with command line.
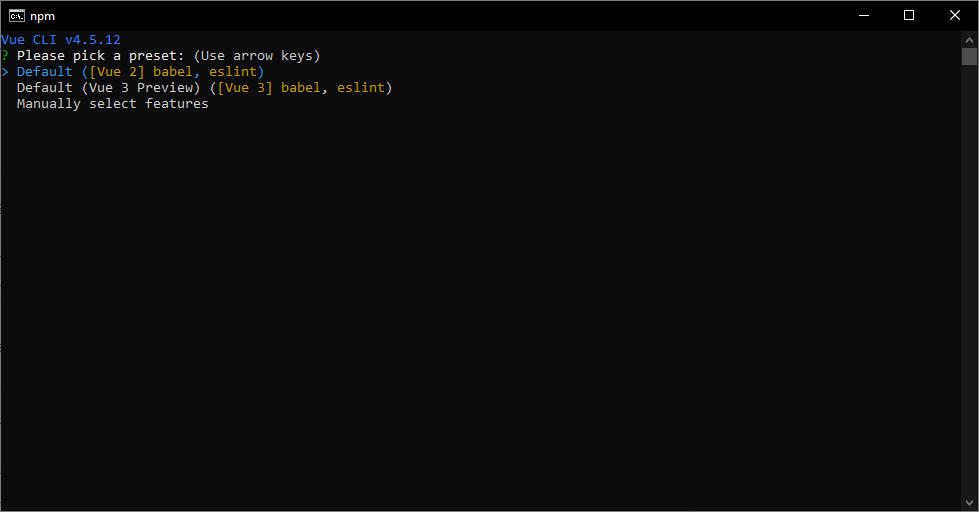
vue create sg-weather-appYou will be prompted to pick a preset. You can either choose the default preset which comes with a basic Babel + ESLint setup, or select “Manually select features” to pick the features you need.

The default setup is great for quickly prototyping a new project, while the manual setup provides more options that are likely needed for more production-oriented projects. Default is sufficient for us, hit Enter key to continue with the setup.
cd sg-weather-app
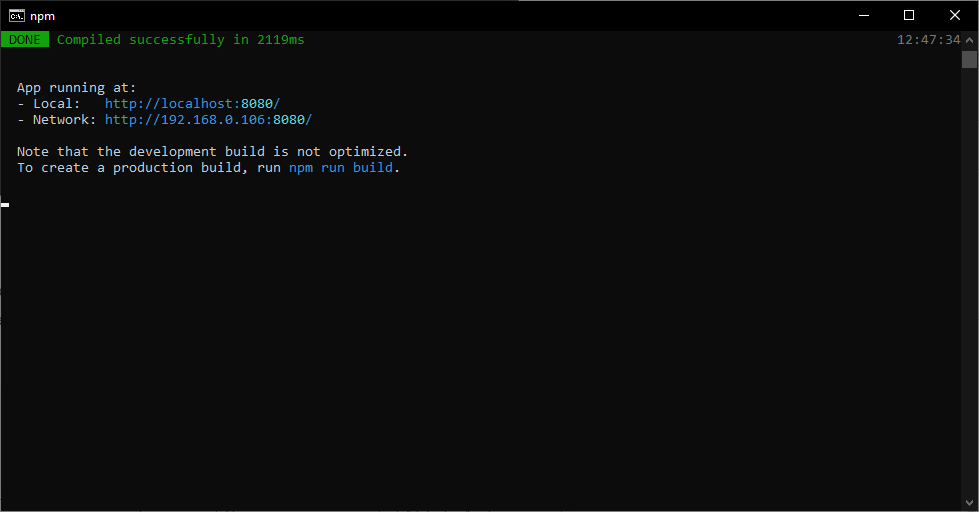
npm run serve
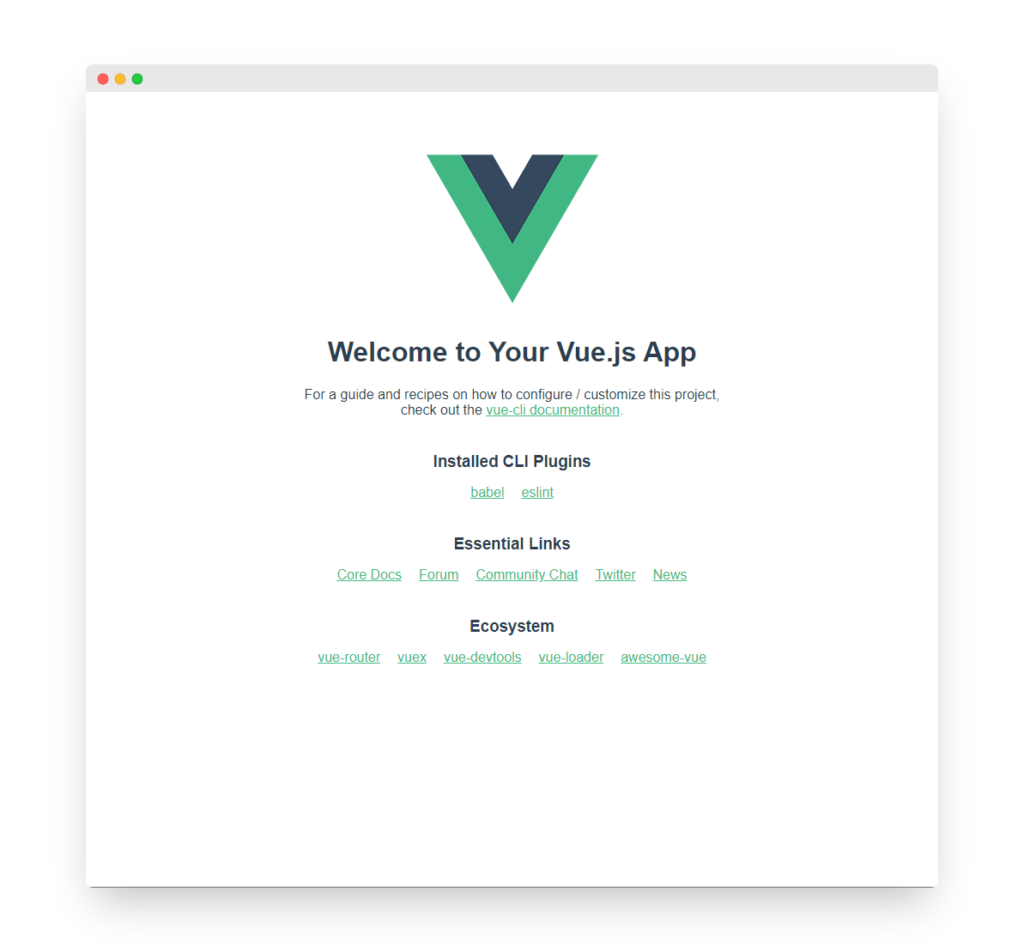
If you open http://localhost:8080/ in your browser now, you should see the following page. Do not close the command line.

Let’s take a look at the project structure. Open the sg-weather-app in Visual Studio Code.

Some important files to look at here:
- node_modules: this is where your project dependencies are stored.
- public: in node.js application, everything in public folder is accessible over the internet. You can see index.html is placed here.
- src is where we will store all our Vue scripts and assets (images, etc.)
- main.js is where we initialize Vue instance when user access index.html.
- App.vue is the welcome page you seen when you open http://localhost:8080
- package.json is required for npm application. You can configure project dependencies and build steps here.
- babel.config.js: Babel is a free and open source JavaScript transcompiler. It is used to convert your ES6+ script into backward compatible JavaScript that works in an older engine. You can configure babel with this file. In our project, we do not need to configure it.
Porting Singapore Weather App
Warning. You need to complete part 1 of this guide before you proceed.
To port Singapore Weather App into our new npm project, there are few steps we need to do:
- Configure dependencies
- Convert code into a component
- Use the component
You can find the source code in GitHub:
https://github.com/Codemacchiato/leanvue-cli
Configure dependencies
There are 2 libraries we used for Singapore Weather App: Bootstrap and Axios. We will import these 2 with NPM.
Ensure your command line is pointing to your project folder /sg-weather-app
npm install bootstrap
npm install axios
Open package.json and check “dependencies” key, you should see both bootstrap and axios are added.
Convert code into a component
Looking at Singapore Weather app, we don’t have a lot of functions so for the ease of study, we will make the entire page into 1 component.

Create a new file WeatherTable.vue in /src/components folder and use the following code.
<template>
    <div class="container">
        <div class="m-3" v-cloak>
            <h1>Welcome to {{title}}</h1>
        </div>
        <table class="table table-bordered">
            <thead>
                <th>No</th>
                <th>Area</th>
                <th>Weather</th>
                <th>Action</th>
            </thead>

            <tbody is="transition-group" name="list" >
                <tr v-for="(item, index) in weatherData"
                    :class="{ 'table-danger' : isDanger(item.forecast) } "
                    v-bind:key="item.area">
                    <td>{{index + 1}}</td>
                    <td>{{item.area}}</td>
                    <td>{{item.forecast}}
                        <i v-if="isShower(item.forecast)" class="fas fa-cloud-showers-heavy"></i>
                        <i v-else-if="item.forecast === 'Thundery Showers'" class="fas fa-bolt"></i>
                    </td>
                    <td><button type="button" class="btn btn-warning" @click="removeWeather(index)">Remove</button></td>
                </tr>
            </tbody>
        </table>
    </div>
</template>

<script>
import axios from 'axios';

export default {
    data: function () {
        return {
            title: "Singapore weather app!",
            weatherData : [],
            show: true
        }
    },
    created : function () {
        this.getWeatherInfo()
    },
    methods : {
        getWeatherInfo : function () {
            axios
                .get("https://api.data.gov.sg/v1/environment/2-hour-weather-forecast")
                .then (response => {
                    this.weatherData = response.data.items[0].forecasts
                })
        },
        isDanger : function(forecast){
            return forecast === "Showers"
        },
        removeWeather : function (index) {
            this.weatherData.splice(index, 1)
        },
        isShower : function(forecast) {
            return "Showers" === forecast
        }
    }
}
</script>

<style scoped>

    [v-cloak] {
        display: none;
    }
    .list-enter-active, .list-leave-active {
            transition: all 0.5s;
    }
    .list-enter, .list-leave-to {
        opacity: 0;
        transform: translateY(30px);
    }

</style>
Modify App.vue to use WeatherTable.vue.
<template>
  <div id="app">
    <WeatherTable></WeatherTable>
  </div>
</template>

<script>
import WeatherTable from './components/WeatherTable.vue'

export default {
  name: 'App',
  components: {
    WeatherTable
  }
}
</script>

<style>
#app {
  font-family: Avenir, Helvetica, Arial, sans-serif;
  -webkit-font-smoothing: antialiased;
  -moz-osx-font-smoothing: grayscale;
  text-align: center;
  color: #2c3e50;
  margin-top: 60px;
}
</style>
Finally, let’s modify main.js to import bootstrap.
import Vue from 'vue'
import App from './App.vue'
import 'bootstrap/dist/css/bootstrap.min.css'

Vue.config.productionTip = false

new Vue({
  render: h => h(App),
}).$mount('#app')
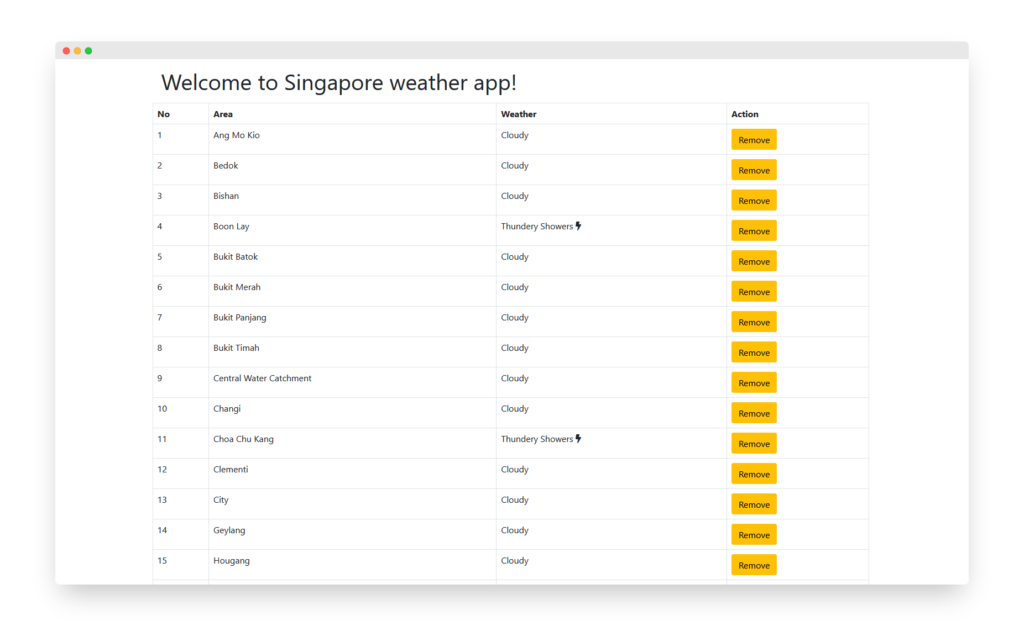
Go back to your browser and open or refresh http://localhost:8080/. You should see Singapore Weather App!
Now would be a good time to dive a little deeper into what we have done.
Component
Components are reusable code blocks that you write once and use everywhere. A component has 3 sections: template, script, and style. Template section contains the HTML code, script has TypeScript, and style contains CSS.
Scoped CSS
When <style> has scoped attribute, the CSS is scoped to affect HTML in the component only. Otherwise the CSS is global.
TypeScript
....
import axios from 'axios';

export default {
    data: function () {
        return {
            title: "Singapore weather app!",
            weatherData : [],
            show: true
        }
    },
....
We made 2 changes in the Vue component here. Data attribute is now a function that returns key value pair. Remember, it was key value pair object previously. Other than that, we used import statement to use axios: import axios from 'axios‘. In TypeScript, you need to import explicitly modules that you need in the script.
Using the component
We imported WeatherTable component into Vue and display it on screen.
Notice the line 3, 7 and 11. This is what they are doing.
import WeatherTable from './components/WeatherTable.vue'made WeatherApp component accessible to App component.- We made WeatherTable accessible to template in App component by:
components: { WeatherTable }. - Finally,
<WeatherTable></WeatherTable>renders WeatherTable on screen.
<template>
  <div id="app">
    <WeatherTable></WeatherTable>
  </div>
</template>

<script>
import WeatherTable from './components/WeatherTable.vue'

export default {
  name: 'App',
  components: {
    WeatherTable
  }
}
</script>
Conclusion
We have rewritten our Singapore Weather App with Vue CLI. It is now written in TypeScript, where we use Babel to make it backward compatible with older JavaScript Engine. Most open-source and enterprise Vue application is written in TypeScript. Now you are equipped with the knowledge to understand the source code, not to mention to build your own app.
Thank you for reading 😀
Please drop your comment below and let me know if you would like me to write more for Vue.


